Categories
Projects Video Games

For the Analyst in All of Us.

metroid_minimalistic_samus_aran_minimalist_desktop_1280x850_wallpaper-448324

So, for a change of pace I thought I’d talk about video games (The joke here is that lately that is all I’ve written about). I notice I don’t talk about “deep” stuff anymore. I think it’s being worried about revealing too much online in combination with becoming an adult and having less “profound, life-changing” realizations. It’s not sad or depressing to me, it’s just growing-up.

I still wholeheartedly believe in the Socratic adage, “The unexamined life is not worth living.” Do it. Examine everything. Be a skeptic. Ask a lot of questions. Accept criticism. Don’t be afraid of change. The problem is the results usually are more personal and less universal these days.

This was not the intention when I started this post. Not even close. It does kind of lead into what I did want to talk about though. (I am going to transition this dammit!) One of the things I’ve always wanted to do is make a video game. Not just some throw-away clone of something else, but a true, honest to goodness video game. What the best advice a writer can get on how to better their skills? Read books. A lot of books. With a critical eye. So, I am adapting that advice and applying it to this situation. I want to make game. How do I make a good one? Play lots of games. With a critical eye.

I have very little free time. Very little. The time I do have I want start taking detailed notes on the things good games do right, and what they do wrong. I am going to write it up here and hopefully use those notes in some magical future project that I will work on and make the entire world happy to play. That is a totally reasonable and attainable goal.

The first game on the metaphorical chopping block is Metroid. The NES classic. I love the Metroid series. Yes, even Other M without the misogynistic overtones. I’ve never beaten the original, so I am going to go back to the source. I feel that often with the technological barriers falling, game designers lose sight of the important aspects and go for the whiz-bangs and flashy graphics. Technological restrictions gave birth to many creative solutions. That is why I think this is a perfect place to start. Stay tuned for my write-ups if that interests you at all. I am trying to hang-up my fanboy pants and put on my…objective…pants (this metaphor has fallen apart). Once again to Zebes!

Categories
Projects Video Games

Virtual Boy Broken Screen Line Fix (Kinda)

If you haven’t noticed I have been a Virtual Boy kick as of late. I have a thing for dead, semi-forgotten machines, ok (see Brave Little Toaster).

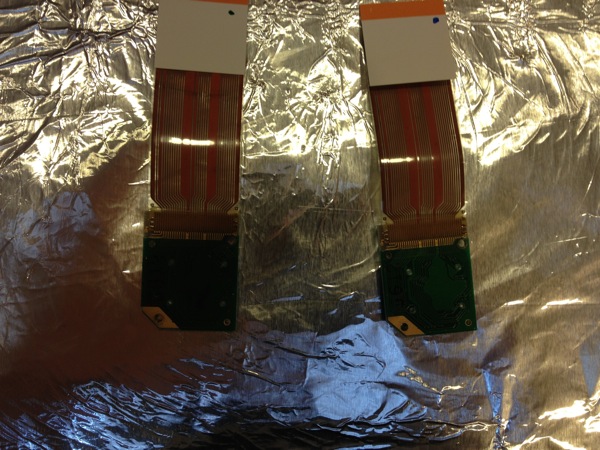
A common problem with Virtual Boy, as with the Game Boy, is the LEDs and Screens are attached using an adhesive instead of solder. This is great for the short term, but in the long term the contacts ten to lift as the adhesive ages. There are a couple ways to fix this. There is the much harder, more tedious way of soldering the points directly to the ribbon cable. This involves etching away the old adhesive and having very steady hands. I opted for the second route: take the LED array out and try to re-melt the adhesive using an oven. So, this is that tale.

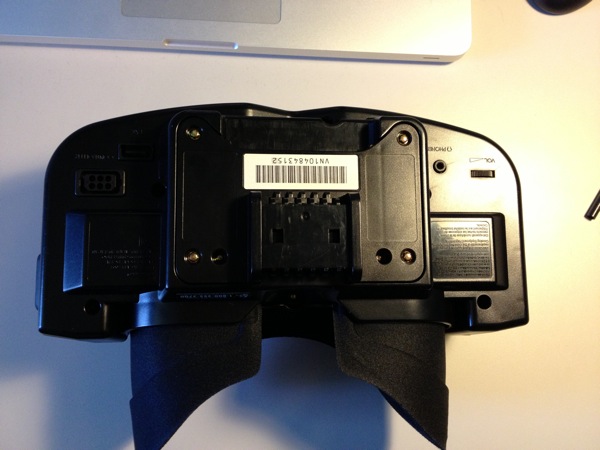
Photo Feb 13 12 47 54 PM

The Virtual Boy pre-strip.

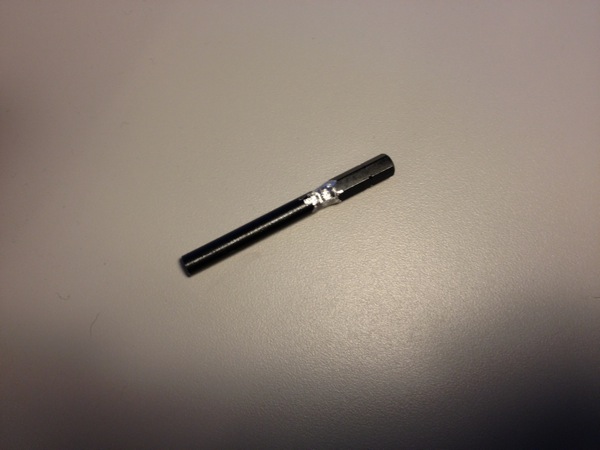
Photo Feb 13 12 47 48 PM

Older Nintendo (maybe current, too) uses a special screw design to prevent tampering known as GameBit. It’s a weird looking star. I had a bit for that, but as long as it was (2″ probably) it still wasn’t long enough to reach the most sunken screws in the Virtual Boy. I had to use a dremel tool to grind away more of the bit so it could fit. Even then it barely made it. Nintendo is serious about the no tampering thing.

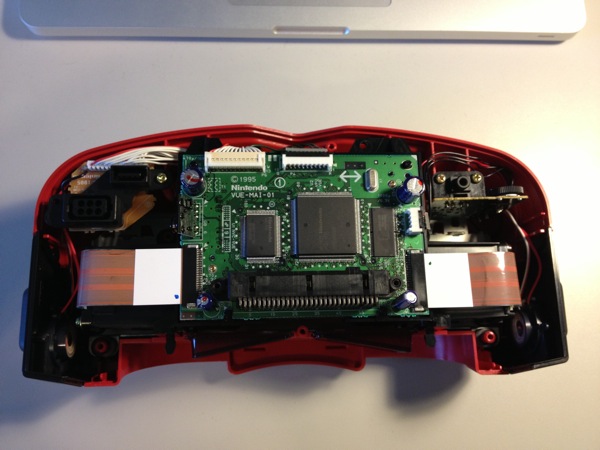
Photo Feb 13 12 53 15 PM

The naked Virtual Boy.

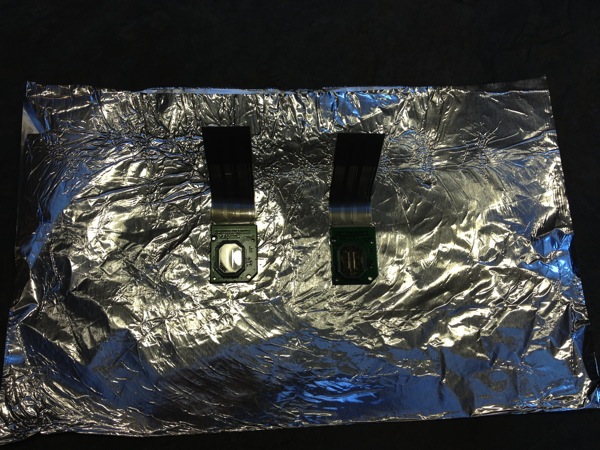
Photo Feb 13 1 15 02 PM

The LEDs ready for the oven.

Photo Feb 13 1 21 52 PM

Out of the oven. After this you are supposed to vigorously rub the contact of the ribbon to the board.

The result after this was that it still didn’t fix my problem. Although unlikely, one of the LEDs might be burnt out. I only left it in the 200 degree oven for 2 minutes. I am going to try for 5 minutes next time. I only need to do the right one now that I know the culprit. I hope the next time it works. That one dead line of pixels is far more annoying than it should be.

Categories
Projects Video Games

Virtual Boy Power Mod Revisted

If you remember I semi-recently modded my virtual boy to run on AC power instead of having to buy an expensive AC Adapter.

Well there was several after-the-fact things I noticed.

1. Two cords going opposite way jutting out from the controller. It was really obtrusive.

2. When I put the jack inside there controller there was not a lot of real estate so I had to rip out a lot of the structure inside. That never sat right with me.

3. It looks ugly. Butt ugly. Ugg buttly.

I decided that I would do it right. My good(ish) name would not be besmirched with such shoddy craftsmanship.

I bought myself a brand-new, used controller off eBay to try my hand at this again.

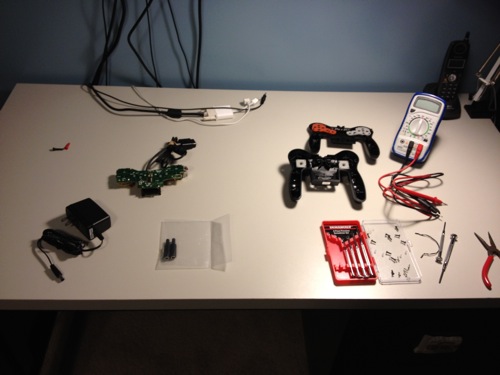
Workbench.jpg

The workbench for this process.

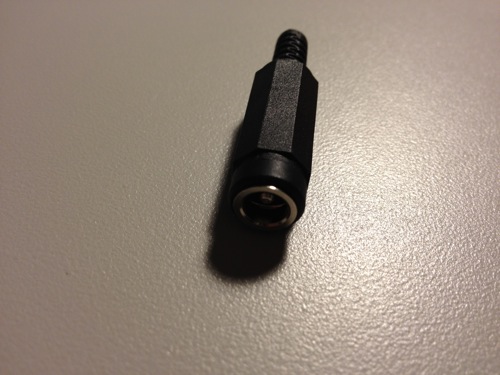
Jack.jpg

Power Jack

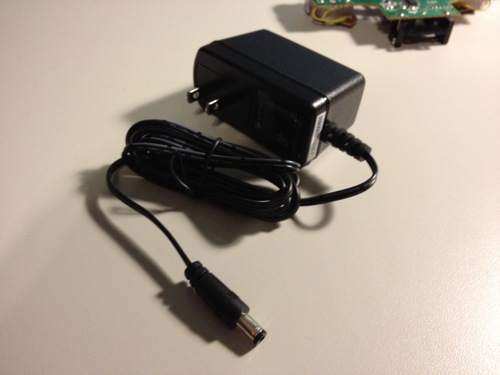
AC/DC Supply.jpg

AC Adapter. It supports world voltages so it can be used anywhere with only a physical change to the prongs.

Soldered.jpg

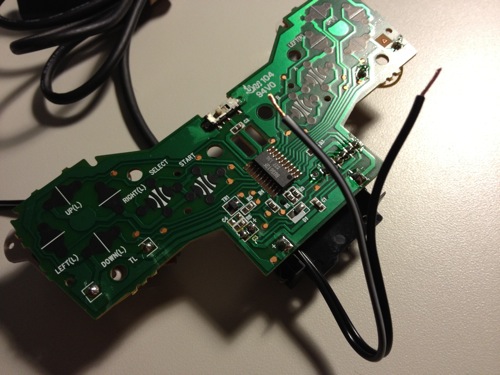
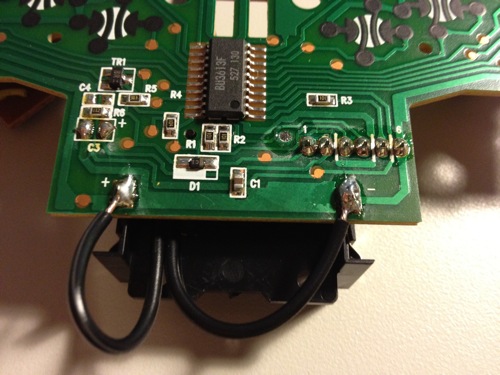
The controller board with the wires soldered on.

Contact Points.jpg

Those are actually the contact points for the power. They take 9V DC @ 350 mA at least.

Jack Soldered.jpg

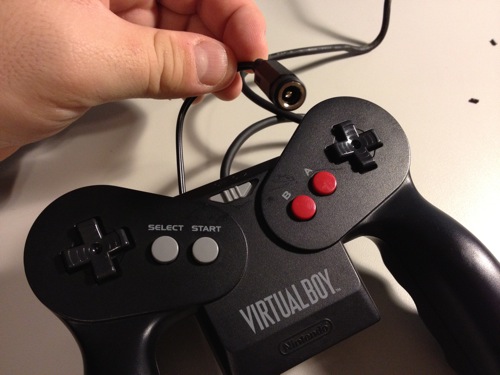
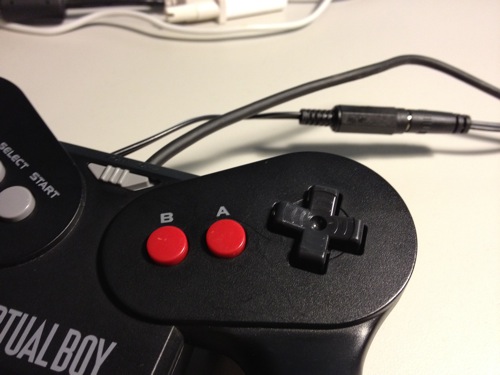
Here is the completed AC Jack. I drilled a small hole out of the top of the controller so the cords are aligned in the same direction.

hookedup.jpg

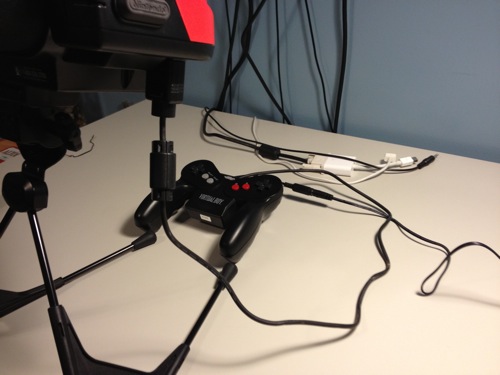
Everything hooked up.

power.jpg

Closer view of the power connection.

controllerfinished.jpg

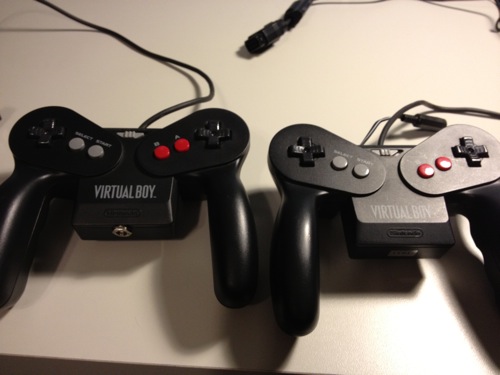
The new controller.

oldnew.jpg

The old and new together.

Overall, much better than before. All the internal integrity is retained and the feel is much less obtrusive. The AC-DC supply itself is also much more versatile. I have a few more projects planned for the VB before I call it done, including trying to fix a broken LED in the array leaving a blank strip when viewing. The ribbon cables were secured with poor adhesive so it’s probably that, but it needs to be fixed. Stay tuned!

BTW: I got all my parts from Digi-Key for those interested.